 |
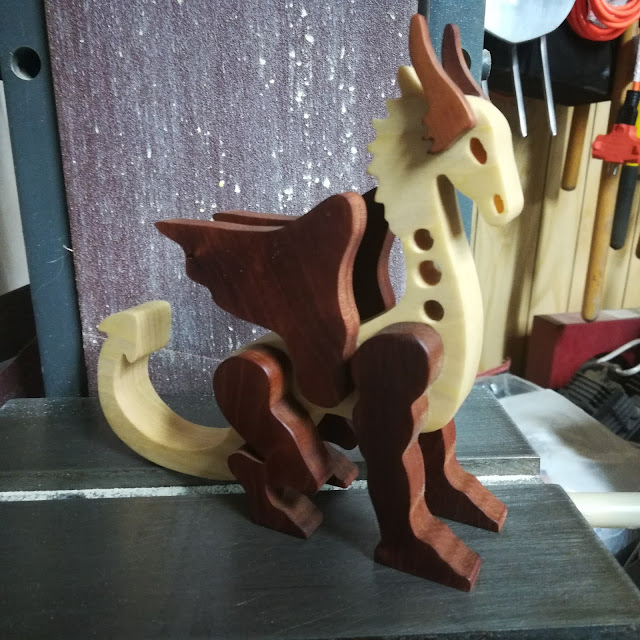
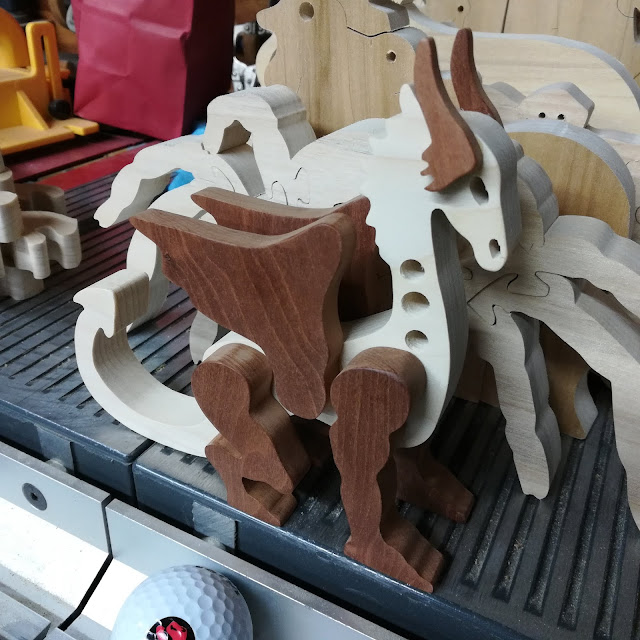
| Handmade Wood Dragon Finished Version |
Dragons
https://www.etsy.com/shop/odinstoyfactory?search_query=dragons
The dragons appear easy to build on the surface. However, getting all the parts aligned and glued into place is a challenge. I struggled with this for a while, trying to find a reliable way to mount the legs and get them all to align so the dragon sits flat and does not rock. I contacted the pattern designer for help and soon discovered that he does not make test builds on his designs. I was on my own.
 |
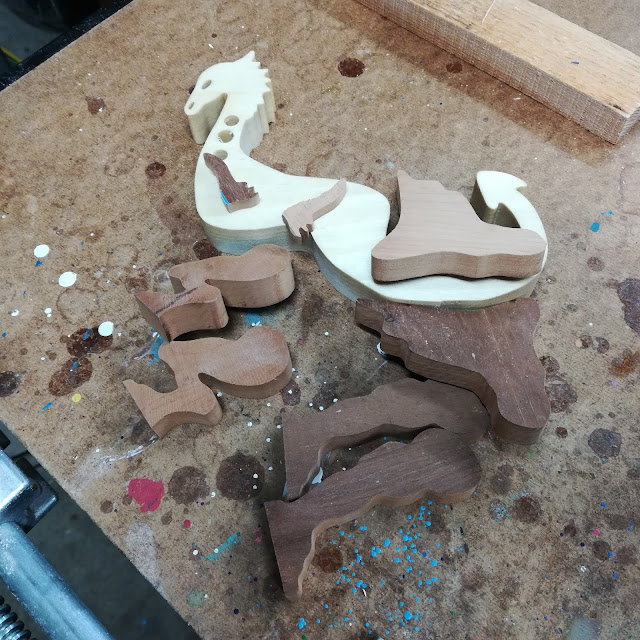
| Handmade Wood Dragon Parts Before Sanding |
The first thing I do is cut all the parts and sand everything smooth, repairing any minor imperfections I find. I do all the sanding before assembly. It would be challenging to sand a dragon after assembly.
 |
| Handmade Wood Dragon Gluing On The First Leg |
First, I glue one leg in place, being very careful to get it aligned as near to perfect as I can. Positioning this leg is critical because everything will index off this leg. After I apply the glue and position the leg, I let it sit for five minutes before clamping to prevent the leg from moving when the clamp is applied. Five minutes is slightly less than the working time of the glue I am using. At this time, the glue is very tacky, but you can still move the part. After five minutes, I add the clamps and leave them in place for at least fifteen minutes. After fifteen minutes, the glue has set enough not to require the clamps. These times must be adjusted for the glue you use.
 |
| Handmade Wood Dragon Clamping The last Two Legs |
Once the first leg is in place, I add another leg on the same side after first clamping the dragon to a flat surface. The same gluing process is repeated, but I clamp the foot of the second leg to the same flat surface. Once the glue has set, I have two legs that have their feet perfectly aligned. The process gets much faster now since I can add as many parts as I can fit clamps on using the same method for attaching the legs. Note that the two orange clamps in the photo above are clamping the feet of the first two dragon legs to the board.
 |
| Handmade Wood Dragon Testing The Legs To See If They Are Even |
After the clamps are removed, I test the dragon by placing it on a flat surface. Here I am using the table of my Shopsmith. At this point, any slight perfections are easily corrected with a bit of sanding. However, to this day, I have never had to make any corrections using this method.
My animals are all handmade, and no two parts are the same. This method works with every I have used it on. Even those that stand on two legs.
Wings horns and ears are not critical. I stick them in the place where it looks good. I do, however, glue and camp one at a time if it is tricky to keep them in place.


No comments:
Post a Comment