 |
| Handmade Wood Toy Dragon Ready For Mounting |
I always make at least two when building a custom order. If something goes wrong, I don't need to start over. Breaking a piece or finding some unacceptable defect in the wood, for example.
 |
| Handmade Wood Toy Dragon Pattern Layout |
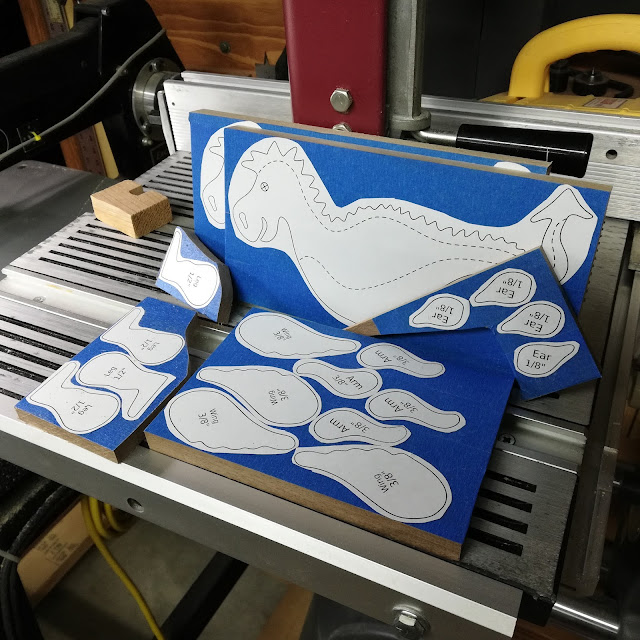
Walnut is expensive and difficult to come by where I live, so I try to be efficient as possible when laying out my patterns. I will sometimes photograph the layout when it is complicated. I must remove the patterns, cut the wood to size, apply tape, and glue the patterns. It's easy to forget the layout.
 |
| Handmade Wood Toy Dragon Patterns Ready For Drilling And Cutting |
There are many ways to attach patterns to wood. I like to use blue tape because it is quick, easy, and does not leave any residue when removed. I use 3M77 spray adhesive to attach the paper patterns. I like it because it holds the pattern on tight and does not lift while I am cutting.
 |
| Handmade Wood Toy Dragon Parts Cut Out And Ready To Remove the Patterns |
I have to be careful when removing patterns. The blue tape sticks so well that sometimes it will pull out wood fibers.
 |
| Handmade Wood Toy Dragon Parts Cut Out And Ready To Remove the Patterns |
These are ready for sanding. There always seems a spot that needs smoothing on the edges. The sharp corners need to be removed. Occasionally there will be some defect in the surfaces that need to be removed. I use belt sanders for most of the sanding.
 |
| Handmade Wood Toy Dragon First Parts Glues and Clamped |
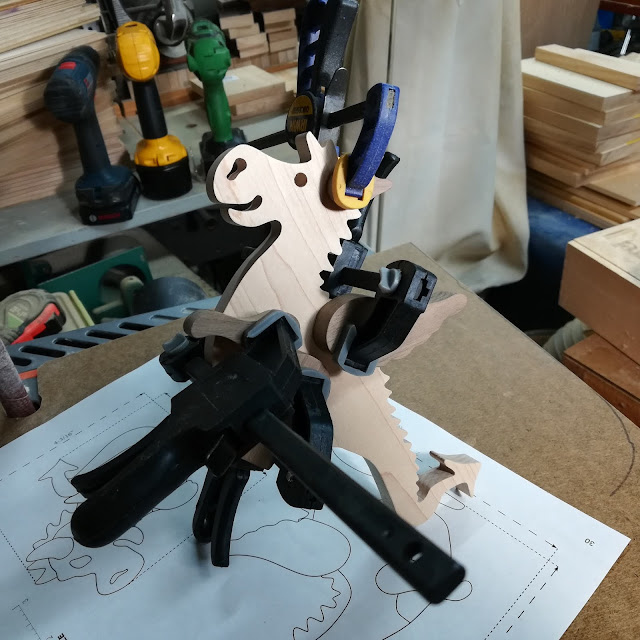
I glue on one side and let the glue set for 20 minutes before removing the clamps and gluing the parts on the other side. Using this method helps me keep the parts aligned. Ears and wings are not a big deal but getting the legs aligned is a necessity.


No comments:
Post a Comment