A-10 Thunderbolt II (aka Warthog) Wood Toy Airplane Build

My Granson has repeatedly asked for one of these for several weeks every time I see him. I made this one for him for Christmas. Originally I had not intended to make one of these because I don't like the size, and it the details are not correct, but my grandson is seven and probably will not notice.
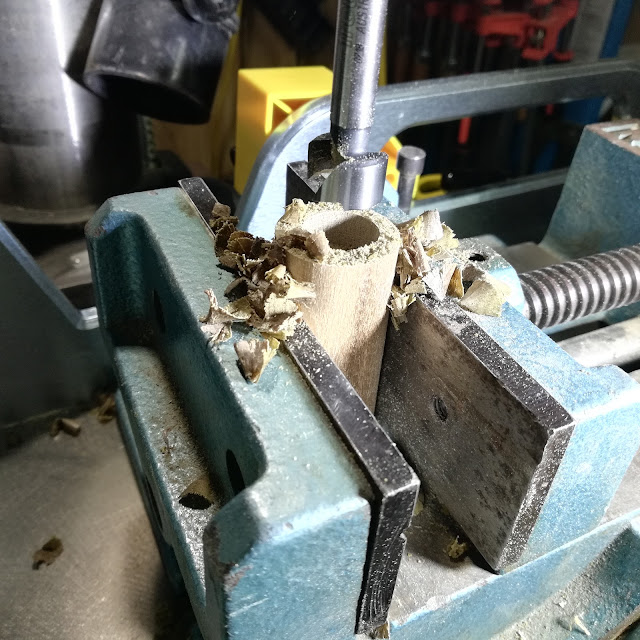
The first problem I had was drilling the center hole. The plans say to drill the hole 1-inch deep. It does not need to be that deep. I drilled half that far, and 1/4-inch would have been enough. I had trouble getting the hole centered using my drill press and a heavy vise. When the point of the bit first made contact with the end of the dowel, the end grain would cause the bit to shift slightly. Next time I will need to break out the lathe chuck
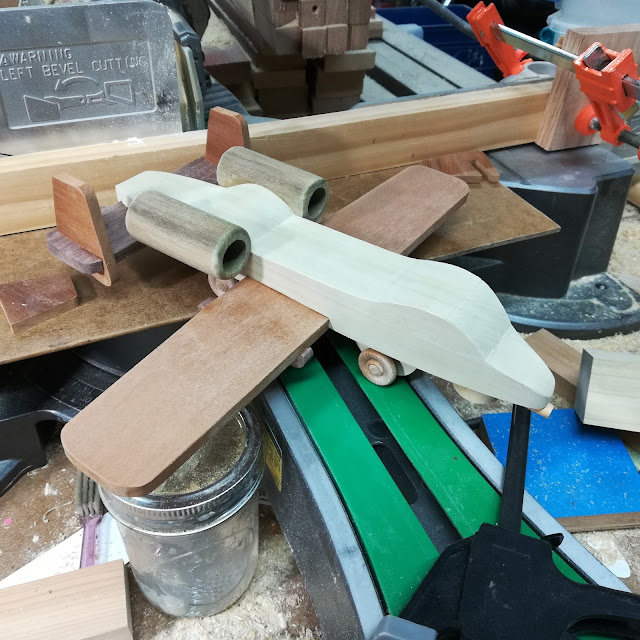
The second problem I had was drilling the holes for the dowels in the Nacelle. I tried everything I could think of to drill the hole straight through the center and get both of them aligned well enough. Nothing worked, and after tossing several nacelles into the designer kindling bucket. I gave up and planed a flat on one side and glued them directly to the fuselage. At this point, I decided that the designer never built this himself. I don't see how you can drill holes through two nacelles and the fuselage and get all of them in perfect alignment using basic shop tools.
My second issue with the plans is clutter. There is a lot of repetition in the plans. How many times do I need to see the list? Parts that need to be cut with a scroll saw are mixed with parts and other things that do not need to be. In this case, all of the parts that need to be printed will fit on one page. I did this using Inkscape. I have the computer skills to do this work, but many people do not.
 |
| A-10 Thunderbolt II (aka Warthog) Wood Toy Airplane Glued and Clamped |
Glue up was straightforward. I apply glue and wait a few minutes (5 or less this will vary with the glue used) to let the glue get tacky so it does not slip so easily when the clamps are added. In the picture, there are two sets of clamps and four parts. I glued the pieces on the bottom of the wings first, turned the plane over, and added the nacelles using the same procedure. At this point, I set the timer on my phone for 15 minutes and do something else. I use Titebond II, and the times come from the manufacturer.
Another issue I have with the plans is the pattern for the fuselage. The fuselage is a compound cut, but instead of a conventional compound cut pattern where both sides are one pattern that you fold around the corner of the wood, and easy to get the two sides aligned perfectly. I fixed this in Inkscape.
 |
| A-10 Thunderbolt II (aka Warthog) Wood Toy Airplane Completed Top View |
Tools I used:
- Hitachi 12-inch miter saw/
- Shopsmith Bandsaw
- Shopsmith Drill Bits
- Shopsmith Belt Sander
- Central Machinery Drill Press
- Palmgren Vise
- Dozuki 22 TPI saw
- Freud Wave Cut Forstner Bits
- Assorted Squares
- Rulers
- Excalibur Scroll Saw
- Pegas #3 MGT Blades
- Bauer Random Orbit Sander (Harbor Freight)
- Delta 1x36-inch Belt Sander
- Pittsburgh Clamps
- Jorgensen Clamps
- Unbranded Large Nylon Spring Clamps
Woods Used
- Poplar
- Walnut
- Ipe
- Birch
#odinstoyfactory #handmade #woodtoys #airplane #aircraft, #toy #warthog #thunderbolt


Comments
Post a Comment