What Should I Look For In A Scroll Saw

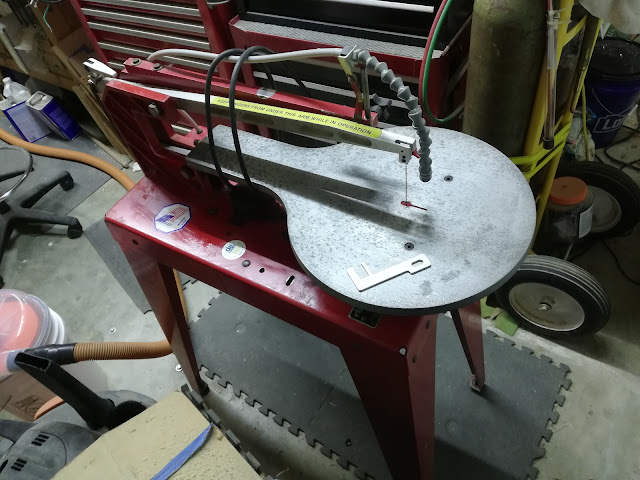
Excalibur EX-21 Scroll Saw My Etsy Shop Avoid purchasing a saw that uses pinned blades. You will regret it. For me, the ease of use and speed of blade changes are paramount. My saws: Excalibur EX-21 was purchased used a lot. I have completely rebuilt it. Pegas 21-inch I bought used in like-new condition. What I appreciate about these saws is that when they are properly aligned, no tension adjustment is necessary. You flip a lever to change the blade, then flip it back into place. This design tilts the blade instead of the table, which makes angled cuts easier to achieve. I have access to parts for both of these saws and have completely rebuilt the Excalibur EX-21. The Harbor Freight Bauer scroll saw operates similarly to the EX-21/Pegas saws. The lift mechanism is different. It is the lowest-cost saw of all the saws mentioned here. Harbor Freight's in-store warranty is as good as it gets. If it breaks during the warranty period, you can return it to th...