Crafting Elegant Fretwork Shelves in Oak

Shop Now
For woodworkers and DIY enthusiasts! If you're like me, there's nothing quite as satisfying as turning a simple piece of wood into something functional and beautiful. Today, I'm sharing how I make a pair of intricate fretwork shelves made from 1/4-inch-thick oak, all cut using my scroll saw. These little gems are perfect for displaying small items. The process was a mix of precision cutting, careful assembly, and a bit of patience while waiting for the finish to dry. I'll walk you through the steps, complete with photos from my workshop. Let's dive in!
Materials and Tools
Here's a quick rundown of what I used:
- Wood: 1/4-inch-thick oak plywood
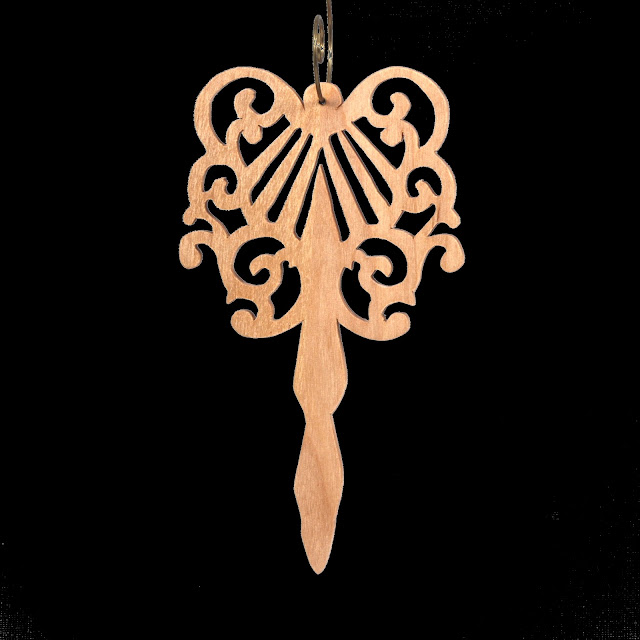
- Pattern: I prepared a flowing, ornamental fretwork pattern inspired by Victorian scrollwork – think swirls and flourishes for that elegant touch.
- Tools: Scroll saw with fine blades (I used #3MGT for the intricate cuts), clamps, wood glue, sandpaper (220-grit), and shellac.
Preparing and Cutting the Pieces
I started by printing out my fretwork pattern and adhering it to the oak using spray adhesive. The design features symmetrical curves and cutouts that give the shelves their airy, decorative look. With the pattern in place, it was time to fire up the scroll saw.
The key here is slow and steady – scroll sawing intricate designs like this requires a light touch to avoid blade breakage or splintering the wood. I cut out the main shelf brackets first, following the lines meticulously. Drill small pilot holes for interior cutouts for threading the blade.
Once the brackets were free, I moved on to the smaller decorative elements and the shelf platforms themselves. The collage shows the pieces laid out after they were cut.
Assembly and Gluing
With all the parts cut, it was time for assembly. I dry-fitted everything first to ensure a snug fit, making minor adjustments with sandpaper where needed. Then, I applied wood glue to the joints – nothing fancy, just good old Titebond.
Clamping is crucial for strong bonds, especially with thin material like this. The images capture the gluing process: orange clamps holding the brackets together while the glue sets. Let it cure for at least an hour, or overnight if you can wait (patience is a woodworker's best friend).
Finishing Touches
After unclamping, I gave everything a thorough sanding to smooth out any rough edges from the saw. Then, it was time to finish. I opted for a couple of coats of shellac.
The final photos in the collage show the completed shelves hanging up, drying in the workshop. They're lightweight yet sturdy, with a small ledge at the bottom for stability. No hangers are required. A tiny nail or pin will do.
The Finished Product
And there you have it – a pair of fretwork shelves ready to grace any wall! Total time? About 4-5 hours spread over a couple of days, including drying time.


Comments
Post a Comment