Crafting a Pair of Oak Fretwork Shelves

Welcome to my latest blog post! Today, I'm sharing the process of crafting a pair of oak fretwork shelves, which are now available in my Etsy shop. These shelves are more than just functional pieces; they are a testament to the beauty of skilled woodworking and the rich grain of oak.
Step 1: Preparation and Design
The journey begins with a solid plan. I create a detailed template for the fretwork design, ensuring precision in every cut. This stage sets the foundation for the entire project.
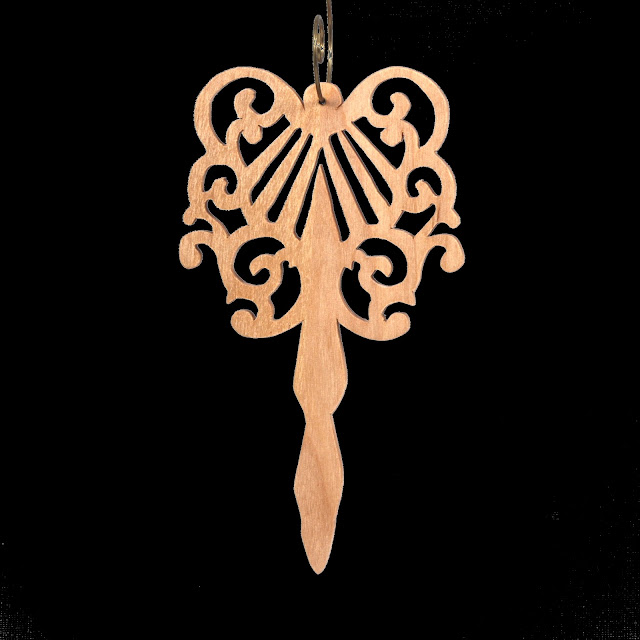
Step 2: Cutting the Fretwork
Next, I carefully cut out the design using my scroll saw. This process requires patience and attention to detail. You can see the intricate patterns coming to life as the saw navigates through the oak, leaving behind a stunning silhouette that will soon become a beautiful shelf.
Step 3: Assembly of Pieces
Once all the pieces are cut, I arrange them on my workbench and dry-fit all of the pieces to see how they will come together. This stage is not just about assembling but also about appreciating the natural beauty of the oak. The distinctive grains and textures truly enhance the aesthetic of the shelves.
Step 4: Gluing the Parts Together
I use clamps to secure the shelves during the assembly. Clamping is necessary to achieve the optimal glue bond, which provides strength and stability. Clamping the irregularly shaped pieces can be challenging.
Step 5: Finishing Touches
After assembling the shelves, I apply a finish, then hang them up to allow this protective layer to cure properly, ensuring a durable and beautiful surface. This process is repeated with sanding in between coats until I am happy with the look and feel.
If you're interested in bringing a piece of this craftsmanship into your home, feel free to check them out in my Etsy shop.


Comments
Post a Comment