Handmade Wood Toy Airplane Experiment First Attempt
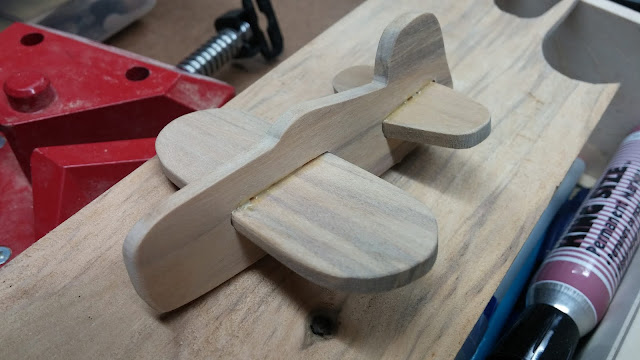
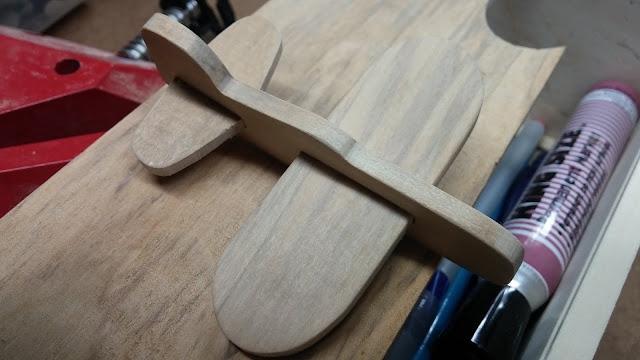
My grandson was interested in airplanes, so I told myself how hard it could be to make a simple toy airplane from scratch. I did not have a simple plan or pattern on hand and made my own; this was my first attempt.
I used a cheap styrofoam glider we had laying around that was about the right size for my purpose. I traced the shapes onto a thin piece of wood and cut out the parts using a scroll saw.
Getting the wing and stabilizer slots cut was a bit of a challenge. Marking the location wasn't a big deal, but the layout for slots was the problem. In the end, I just eyeballed it.
Getting the wings in the slots without getting the glue all over is a bot of a trick. If I were to make one like this again, I would dry fit and mark where the glue needs to be located, Pull the wing out slightly, Apply a small amount of glue and press the wing into place. The fit needs to good but not tight. If it is tight before the glue is applied, the wood fibers will begin to swell as soon as the glue is applied, and there is a high risk that it will get stuck in the wrong place.
 |
| Handmande Wood Toy Airplane Showing My Sloppy Glue line |
I was not too fond of this design, mainly because of the difficulty with inserting the wing and stabilizer in the slots, so I never added wheels.
If I ever build a through the fuselage airplane again, I would Cut the fuselage in half, glue the wing and stabilizer in place, and glue the fuselage back together.
My grandson was quite pleased with the new toy but disappointed that it would not fly like the glider.


Comments
Post a Comment