Posts

Showing posts with the label A-10 Thunderbolt II

Crafting the A-10 Thunderbolt II at Odin's Toy Factory - Sometimes Things Go Wrong

Image
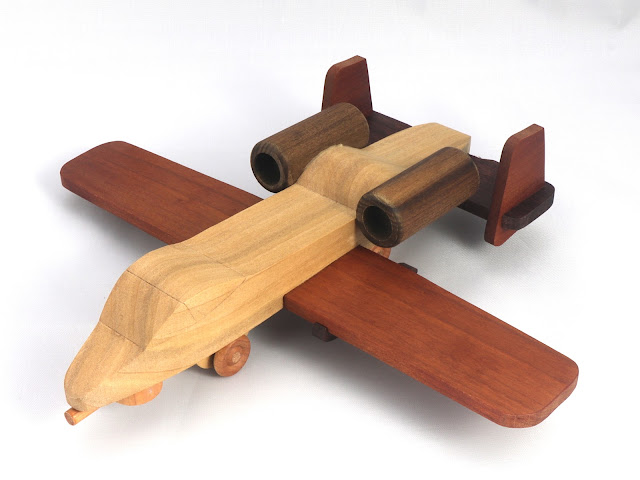
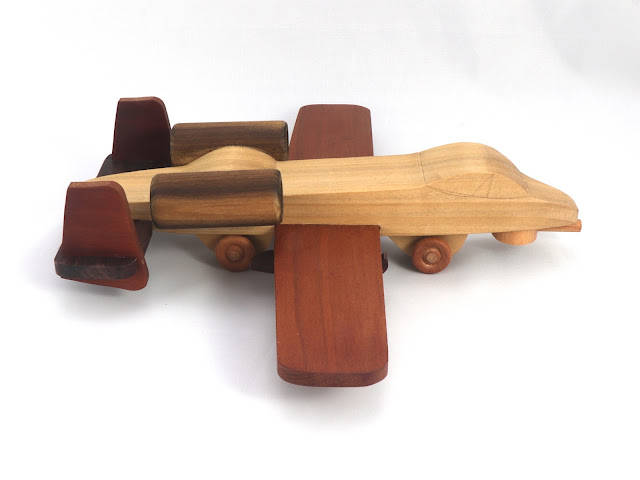
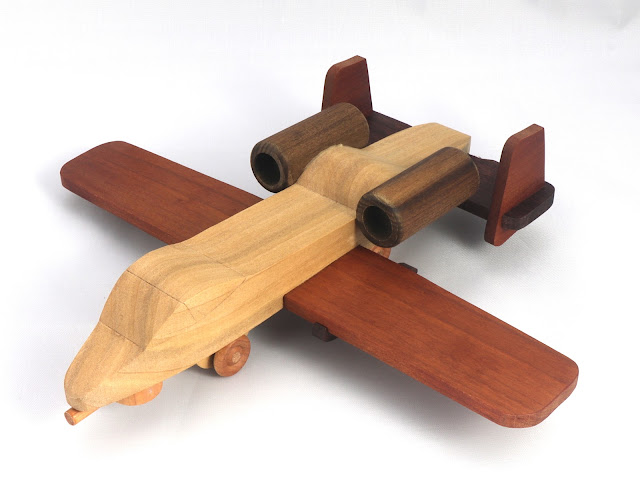
At Odin's Toy Factory, I pour my heart into creating high-quality, handmade wooden toys, each one a labor of love. My latest project, the A-10 Thunderbolt II (affectionately known as the Warthog), is no exception. This iconic aircraft, reimagined as a wooden toy, embodies the rugged charm and durability that I strive for in every piece I craft. As a toymaker, my goal is to produce toys that spark joy and stand the test of time. I use premium materials and meticulous craftsmanship to ensure every creation is something to be cherished. But, as with any handmade process, things don’t always go perfectly. Sometimes, a piece doesn’t meet my standards—maybe a cut is slightly off, or the wood reveals an unexpected flaw. When that happens, the toy doesn’t make it to the shop. Instead, it becomes what I fondly call designer kindling —a reminder that even in imperfection, there’s value and a chance to start anew. The A-10 Thunderbolt II toy is a celebration of American craftsmanship, proud...

Crafting a Wooden A-10 Thunderbolt II (Wart Hog)

Image
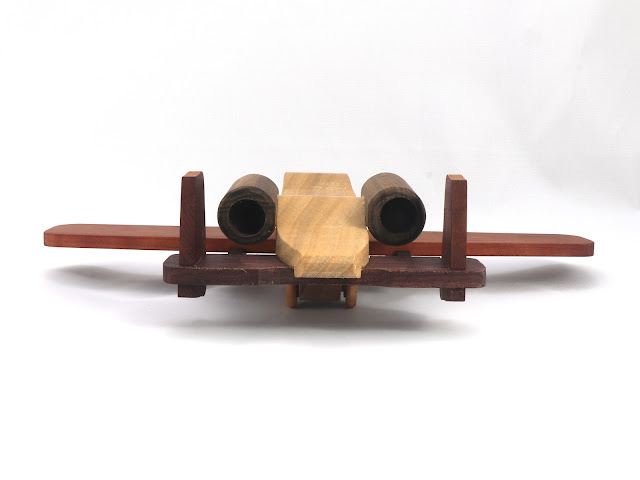
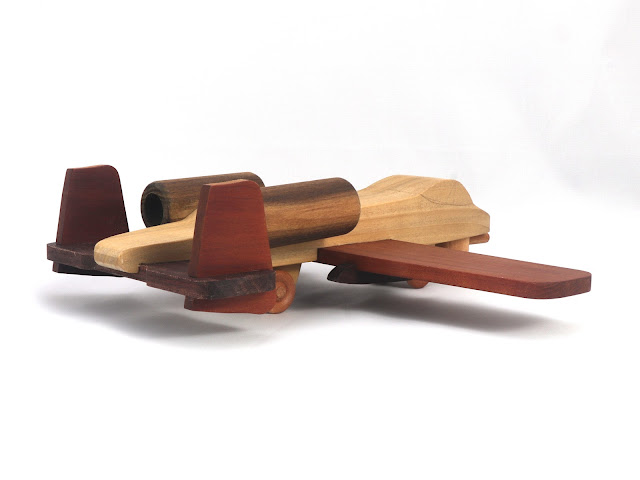
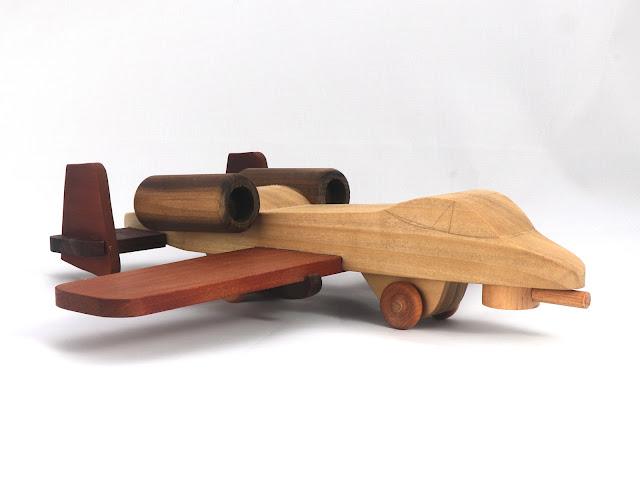
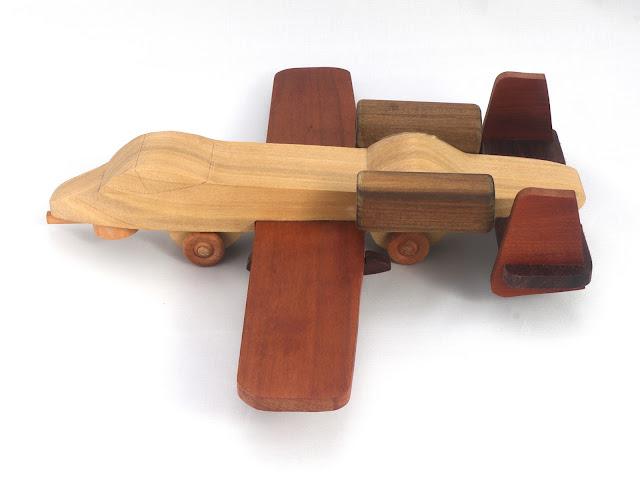
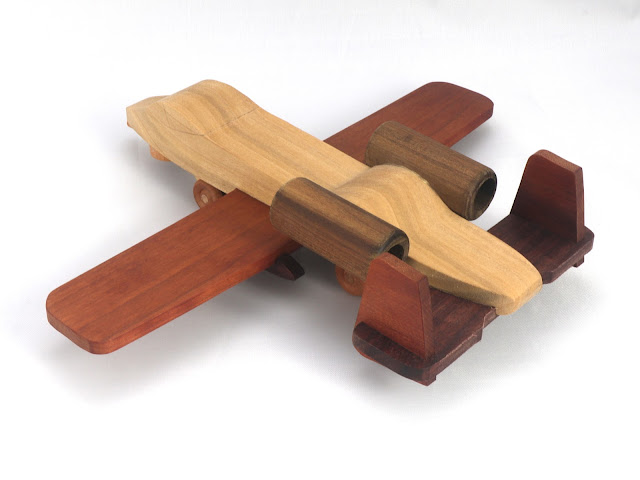
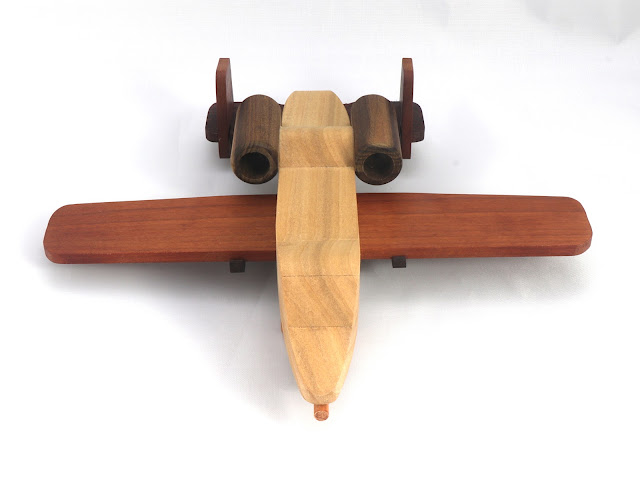
  In my workshop, the A-10 Thunderbolt II , affectionately known as the Warthog , is almost complete. This wooden toy airplane is nearing completion, and I wanted to share some of the process behind it, with just a bit more sanding and a final finish to go. Materials and Design I crafted the wings and tail section from rich cherry wood, prized for its warm tones and durability. The fuselage, the heart of the aircraft, is made from poplar, a lightweight yet sturdy wood that’s ideal for making toys. To bring out the toy’s details, I stained the canopy and engine nacelles, creating a notable contrast. The Canopy Challenge The canopy is a tricky part of this build. To get it just right, I followed a meticulous process: Initial Cut : I carefully cut the canopy piece from the poplar fuselage blank before cutting the main body. The Canopy : The canopy is in two pieces that I glue together, creating a visible line between the front and rear. Temporary Assembly : Using double-sided tape...

Creating Engine Nacelles for the A-10 Thunderbolt II (Warthog)

Image
  See the completed A-10 Thunderbolt II here. From the very beginning, I faced numerous obstacles in finding the right techniques to create the engine nacelles. After several attempts that didn't go as planned, many of my early creations ended up in the waste bin. It's always frustrating to see your hard work fall short, but this is part of the crafting process. Experimentation is key, even if it means producing a few failures along the way. I primarily used a drill press for my initial attempts, but I soon realized that I wasn't achieving the level of consistency needed for these parts. Although the drill press is a fantastic tool for many applications, it just wasn't delivering the results I hoped for in this case. The search for the right method led me to the lathe, where I discovered that using a chuck provided perfectly centered holes. However, this technique came with its own set of challenges; the metal jaws of the chuck were damaging the exterior of my nacelles ...

A-10 Thunderbolt II, aka Warthog Extra Parts

Image
As a hobbyist and maker, I've always been fascinated by the intricate design and functionality of military aircraft, particularly the A-10 Thunderbolt II , affectionately known as the Warthog. Crafting made-to-order items inspired by this iconic plane has become a rewarding challenge that I embrace wholeheartedly. One of the key strategies I've learned in this creative process is to produce at least two of each item. Two A-10s might seem redundant at first, but there's a good reason behind it. When working with delicate or fragile components, it's wise to have extra pieces on hand. I've encountered many instances where intricate parts are prone to breakage, and having spares ensures I can easily replace them without needing to reset my workspace. While I'm in the zone and my tools are all set up, I take the opportunity to create these additional components. Once I've meticulously glued the fragile parts in place, something remarkable happens: they gain stre...

Toymakers Shop A-10 Thunderbolt II (Wart Hog) Smoothing and Shaping the Fuselage

Image
Crafting the A-10 Thunderbolt II The A-10 Thunderbolt II , affectionately known as the Warthog, is an iconic aircraft renowned for its rugged design and unmatched durability. As a toymaker, replicating this beast in miniature form is both a challenge. My process goes far beyond simply cutting pieces and gluing them together, it’s a meticulous craft that demands precision, patience, and a touch of creativity.   Shaping the Pieces with Care Every component of the A-10 starts as raw material that requires careful refinement. I don’t just rely on basic cuts; each piece is handworked to ensure it’s smooth, properly shaped, and fits seamlessly with its counterparts. This involves a variety of tools—sandpaper, files, scrapers, and even shopmade tools tailored for specific tasks. On occasion, I’ll use a router plane. The goal is to transform rough cuts into smooth parts and capture the Warthog’s distinctive look.   Saw marks and sharp corners are inevitable after initial cuts, but th...

Toymaker's Shop Update: A-10 Thunderbolt II and Heart Shelf Projects

Image
In the shop, I've got two A-10 Thunderbolt II (Warthog) models in progress, alongside a couple of heart-shaped shelves. The second shelf is still under wraps, but I'll share more on that later. The heart shelves are a breeze to craft, straightforward, satisfying, and a joy to see come together. On the other hand, the A-10s are a whole different beast. These intricate wooden toys demand precision. Cutting each part to exact specifications and hand-fitting them is a time-consuming challenge that tests patience and skill. It's way tougher than it looks, but the result is worth every meticulous moment. The photo shows a cluttered workbench with various woodworking tools and materials. There are several pieces of wood, including cutouts for an A-10 Thunderbolt II toy airplane and heart-shaped shelves. Blue painter's tape is used to keep glue off the wood when applying templates. Tools like scissors, a utility knife, and a clamp are scattered across the surface. The scene ref...

Making Parts For My Version Of The A-10 Thunderbolt II Wooden Toy Airplane - 1159406785

Image
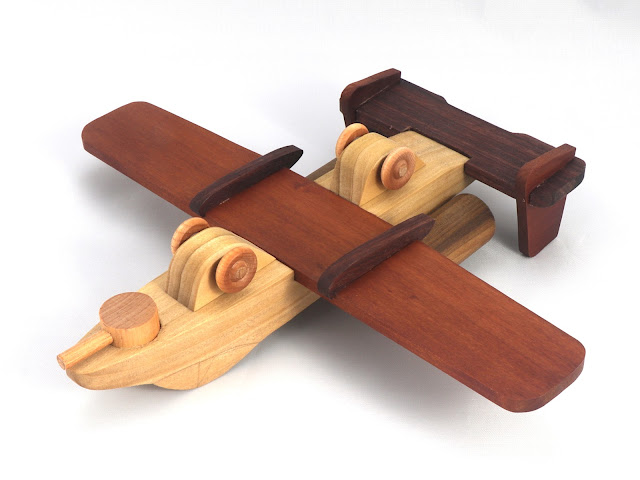
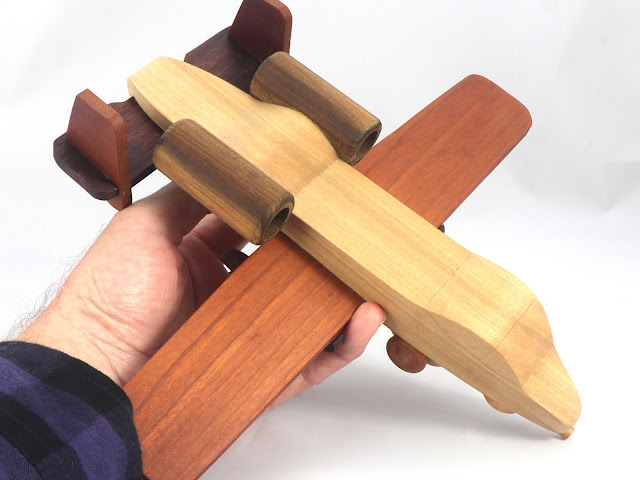
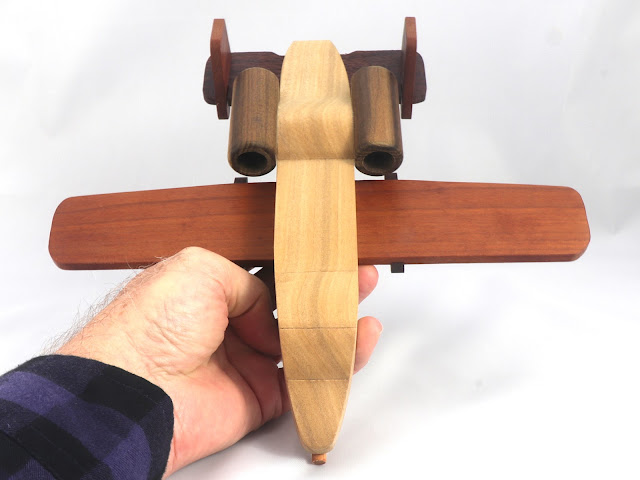
  Parts for a made-to-order wooden toy airplane, my version of the A-10 Thunderbolt II, aka Wart Hog.  Made from poplar and cherry. Here is the beginning of a made-to-order wooden toy airplane modeled after the iconic A-10 Thunderbolt II , affectionately known as the Wart Hog . This rugged, legendary aircraft has been reimagined as a beautifully crafted toy, perfect for collectors, aviation enthusiasts, or kids with big imaginations. Crafted with Care Each A-10 Thunderbolt II toy is meticulously handcrafted using high-quality poplar and cherry wood. These materials not only give the toy a warm, natural feel but also ensure durability for hours of play or proud display. The combination of poplar’s smooth grain and cherry’s rich, warm tones brings out the distinctive look of the Wart Hog, capturing its tough yet charismatic spirit. Why the A-10 Thunderbolt II? The A-10 , with its unmistakable silhouette and reputation for resilience, is a favorite among military aviation fans...

Handmade Wood Toy Airplane Modeled After The A-10 Thunderbolt II aka Warthog 1159406785

Image
  Handmade Wood Toy Airplane Modeled After The A-10 Thunderbolt II aka Warthog Order Yours Today My Airplane Collection My Shop Front Page I made this for my grandson for Christmas. He had asked me to make an A-10 for him for months, and this was the closest I could get. I modified it some, and if I make another one, I have further modifications planned. I needed to get the canopy defined better. I did a good job cutting the pieces out. They fit back together so well that you can barely see the lines. I did not install the wing guns as the plans required. A-10s don't have guns in the wings. I didn't use dowels for the engine nacelles. I planned a flat spot on them and glued them on. I am still trying to figure out how to drill the holes precisely. John, the designer, should make a video showing how you did it if he built one. I have discovered that many of the people out there selling these toy plans do not create them. In my opinion, test builds are necessary. They should give...