 |
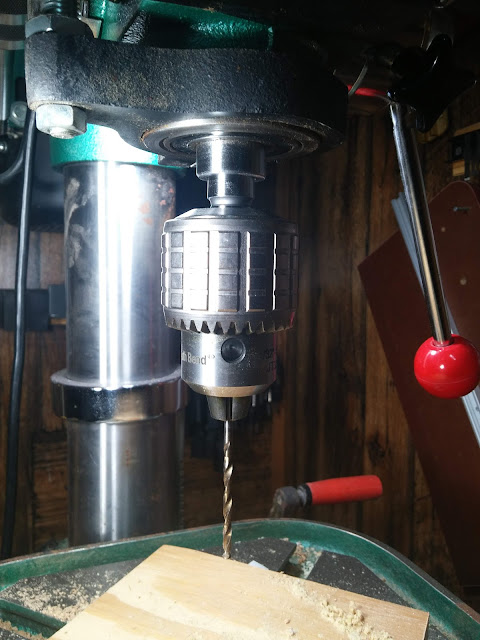
| Replacement South Bend Chuck on MY Grizzly Drill Press |
The chuck worked just as I had expected. It works with bits smaller than the spec sheet indicates and is much better than the chuck that came with it. So much better than I'm considering buying a larger version for my large drill press.
I got exactly what I wanted. A good drill press that would handle smaller bits. I use drill bits down to wire gauge sizes that neither my Shopsmith or larger drill press can handle. For production purposes, I didn't want to have to fool around with adapters or changing chucks.
Some of the knobs were damaged, and I replaced them with these red ball knobs I found on Amazon. They came 10 to a bag, but they cost only $7.95. I had forgotten how much better I like ball knobs on a drill press. I plan to add these to some of my other tools. The broken knobs these replaced were also plastic.
 |
| 20190310_133145 Red Ball Knob Grizzly Drill Press Replacement |
I also replaced this knob with a knob I bought from Amazon when I tried to lock the spindle the knob disintegrated in my hand. It was just a bot with a knob molded on to it. I could have got by without it. The knob was cheap and I got a better knob.
 |
| Grizzly Drill Press Locking Knob Replacement |
The old chuck was still good, so I stuck it on the side of the drill press with a hard drive magnet. Hard drive magnets can hold a crazy amount of weight so there is little chance it will ever come off.
 |
| Grizzly Chuck Held With A Hard Drive Magnet |
The drill press worked great for my purposes and was well worth the effort.


No comments:
Post a Comment