Posts

Tools for the Toy Maker

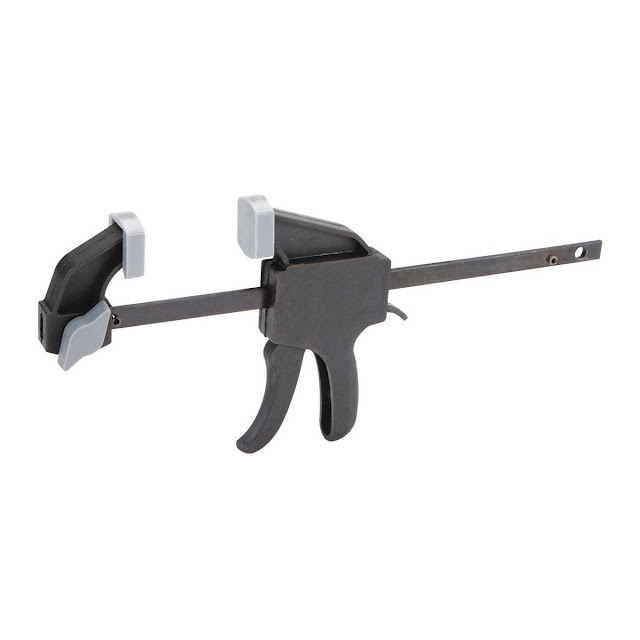
I make toys and fretwork. Here is my take. 1. Workbench with a Vise It doesn't have to be fancy, but you can't work without it. 2. Drill Press Everything I do uses a drill press in some form or another. Drilling, hole saw for making wheels and sanding with various attachments.  Sanding mops are a must have in my shop. You can use it as a drum sander, and there are many attachments that you can buy or make for it. 3. Belt Sander I have a 1" x 42" Delta Belt and disk sander. This one is very much like it. I also have a 6x48-inch belt sander. One or both of these get used on every project. I don't find the disk sander to be very useful. 4. Saw - Type depends on the situation. You need to cut wood  Provided you can get the wood in the thickness you need. There are many options. If all you are doing is scrollsaw projects, a hand saw will work. You can use a scroll saw in place of a bandsaw for everything but resawing lumber. You can use a scroll saw for

Tool Review - Harbor Freight - Pittsburg 4 inch Ratcheting Bar Clamp

Image
Harbor Freight - Pittsburgh 4 inch Ratcheting Bar Clamp The first one of these I ever saw was the next larger size. I purchased some and discovered that the clamps would not hold. I could clamp hem down tight, and a short time later I would find the clamp had loosened. I finally gave up on them when one broke and tossed them in the recycle bins. Several times over the last few years, I tried them again in the store and found that they broke easily and would not clamp tightly. I got a deal on some Irwin clamps and didn't look at them again. The one day I received an email from a trusted friend telling me how great the 4-inch clamps worked and that with a coupon I could buy them for $0.99 each. I build toys, and when I am making a large batch of them, I sometimes run out of small clamps. For $0.99 I had to give these a try. They must not make many of the Pittsburg 4-inch clamps, or they are in high demand because I had to stop by the store several times to get five of them. Once

Handmade Wooden Toy Car, Old Fashioned Vintage Style from Bad Bob's Custom Motors Series

Image
Handmade Wooden Toy Cars Bad Bob's Custom Motors Sedans & Coupes In Various Colors Here is a fleet of cars ready for the camera. A few of them are missing from the photo. My grandson managed to talk me out of four of them. One of them he gave to his friend for a Christmas gift. These cars were a lot more work than they appeared to be looking at the number of parts. The fenders are delicate until I glued them to the body of the car. I broke several of the solid wood fenders during sanding. The next batch I make with this style fender will either have plywood or other laminated wood fenders. Baltic birch would work well, I think. The breakage problem was caused by the cross grain in the thin part of the wood. With this shape, there is no way to cut the fender where there isn't a weak point. To get around this problem, I cut the frames so the more vulnerable areas would be glued directly to the sides of the body of the wooden car. They are plenty strong once glued.

The best Countersink I Have Ever Used - KEO 53512 Cobalt Steel Single-End Countersink

Image
KEO 53512 Cobalt Steel Single-End Countersink, TiN Coated, 82 Degree Point Angle, Round Shank, 5/16" Shank Diameter, 1/2" Body Diameter This isn't a tool I use much for toy making, but I use it a lot for making jigs and special purpose fences. I have tried lots of countersinks for cheap ones from Harbor Freight to some expensive Bosch brand countersinks. Some cut better than others, but they all chattered. After trying one of these, the others went into the recycle bin. In some materials, this countersink will cut shavings not chips. You will get smooth, round countersinks. After using this one for a while, the others went into the recycle bin. I don't use it for metal, but you can use it for that. From the seller, " Cobalt steel tools are similar to high-speed steel, but with more cobalt for improved performance when cutting harder metals such as stainless steel or nickel alloy." The KEO 53512 Cobalt Steel Single-End Countersink co

How Do You Cut Dowels Into Small Pieces For Your Toys?

Image
Handmade Wooden Toy Dowel Cutting Jig With Japanese Pull Saw & Clamps For some reason never have understood many people want to use a complicated jig or some big power tool like a 12-inch sliding compound miter saw, table saw or bandsaw to cut dowels. The will go to a lot of trouble to build jigs to accomplish this without throwing pieces all over the garage or cutting their fingers off. You don't need to go to all this trouble. Pictured above is the jig I use. I didn't make this jig for cutting dowels. Originally this jig was an experimental wrench rack for mechanics combination wrenches made from big box store plywood. One day I need to cut some axels for a toy car I was building and was looking around for an easy way to hold the dowel and cut it straight when I spied this in the scrap pile. Its been on my workbench ever since then. To use it measure and clamp on a stop where the point you want to cut lines up with the edge of one of the slots. Clamp the dowel in

How To Make Blocks For Kids The Easy Way

I made some blocks after watching my grandson trying to build stuff from random chunks of wood. The best ones (the ones he likes and the most) are I cut from 2x4s. I sanded them smooth and rounded the corners with a belt sander. I didn't use a router for rounding over the pine because it tears out so easy I would need to sand them any after routing. I didn't use a pattern or plan. I reasoned that all you need to make a basic block set is to cut a square and use the square as the basic size and keep adding to it. For example, the second size block is exactly 2x the size of the square. A 2x4 is 3-1/2 inches wide. Trim the end to be sure you have it square and smooth. Now cut the blocks 3-1/2 inches long and you have your square blocks. Cut the next blocks 7 inches long yielding a rectangle 7x3-1/2 inches. Seven-inch double size blocks may be all you need. However, I cut a few 10-1/2x3-1/2. I cut around all the knots unless they are tiny and any pitch pockets or other defects. If

Tape, Adhesive, and Patterns - What tape do I use and how I stick my patterns to the wood?

Image
I use 3m ScotchBlue Painters Tape. Yep, it sticks tight. I used to use a cheap knock-off tape that didn't hold so tight. I can't find it anymore around my local area. When I first started using the cheap blue tape, I had to use a roller on it to get it to stay in place. Out of habit, I rolled the 3M tape. Not a good idea. It pulled chunks out of the pine when I removed it. I learned that you need to rub it lightly to get the bubbles out, and that is it. The adhesive on the 3M tape is pressure sensitive the harder you press, the tighter it sticks. I spent $80 US on tape last year. 3m Scotch Blue Painters Tape I cover the top wood entirely with the tape neat and trimmed. I don't want any tape hanging or sticking on anything while I'm cutting. I can mess it all by myself I don't need a poor taping job to help me. Patrick Speilman  talks about using tape for lubrication of the saw blade in one of his books. According to Patrick, the manufacturers put silicon